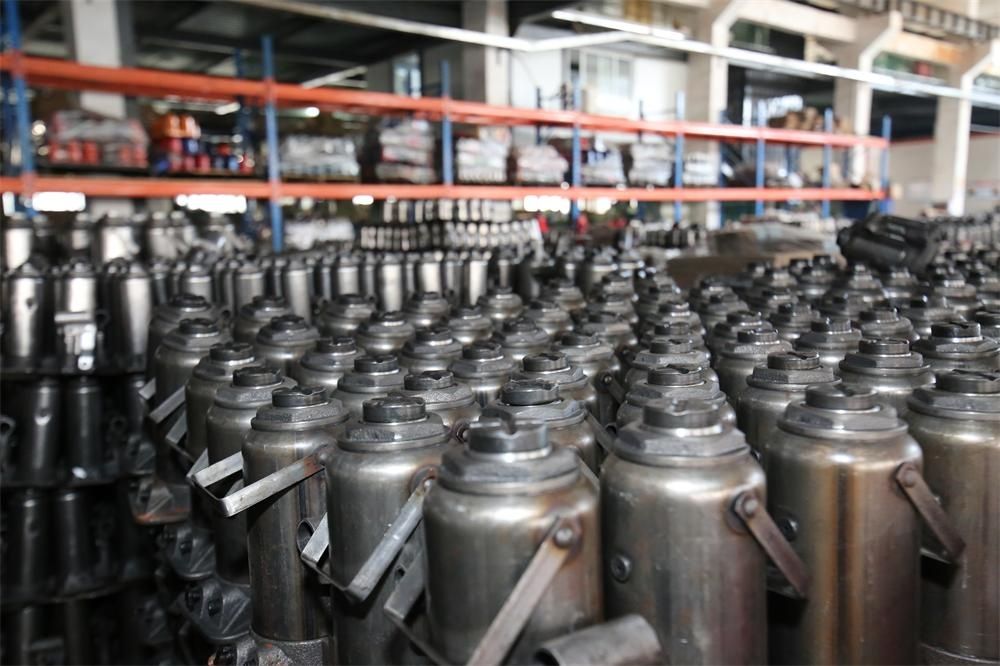
A bottle jack is a vertical hydraulic ram in a bottle-shaped oil reservoir. It is compact, cheap to ship and covers 2 to 200 tons, which is why it is in every truck toolbox and every farm workshop. It is also easy to misuse. This guide covers the parts you will use, how to raise and lower a load step by step, where to place the jack, how high each size lifts, and the mistakes to avoid.
The parts you will use
- Release valve: a small screw near the base. Clockwise closes it for lifting; counter-clockwise opens it for lowering.
- Pump socket and handle: the handle slots into the socket; its other end has a slot for turning the release valve.
- Ram: the chrome piston that rises out of the cylinder.
- Screw extension: the threaded top of the ram, turned by hand to close the gap to the load before pumping.
- Saddle: the serrated cap that contacts the lift point.
Before you start
- Check the capacity. The rating is on the label; stay within it.
- Check the fit. The jack’s height fully lowered must fit under the lift point, with room to wind the screw up.
- Inspect the jack. No oil leaks, no bent ram, the saddle and screw turn freely. If the oil level is low or the pump feels spongy, see our hydraulic jack oil guide.
- Firm, level ground. Concrete is best. On soil or hot asphalt, use a wide steel plate under the base.
- Secure the vehicle. Park or first gear, parking brake on, and chock the wheels at the end that stays down.
- Have jack stands ready, rated for the vehicle and set roughly to height.
How to raise a load with a bottle jack
- Close the release valve. Turn it clockwise with the slotted end of the handle until it is snug. Do not force it.
- Position the jack upright under the lift point, centred, with the base flat on the ground.
- Wind up the screw extension by hand until the saddle touches the lift point. This saves pump strokes and keeps the ram’s full travel for lifting. Do not use the screw to lift the load itself.
- Insert the handle and pump with full, even strokes. Watch the load and the jack: the jack must stay vertical and the saddle centred.
- Stop at the height you need, a few centimetres above the stand height. Never pump past the point where the ram stops rising; that is the stroke limit.
- Place jack stands under the vehicle’s support points and lower the load onto them by opening the release valve slowly.
- Push-test the vehicle before going underneath; it must not rock.
How to lower a bottle jack
- Clear tools and people from under the load.
- Close the release valve and pump until the load lifts just clear of the stands.
- Remove the stands.
- Open the release valve counter-clockwise very slowly, about a quarter turn at a time. The more you open it, the faster the load comes down; keep it controlled.
- When the load is on the ground, open the valve fully, push the ram down and wind the screw extension in.
- Close the valve lightly and store the jack upright.
Where to place a bottle jack
- Cars: only at points with enough clearance, such as a rear axle or a subframe jacking point shown in the owner’s manual. The side pinch welds of most cars are too low for a bottle jack.
- Pickups, SUVs and vans: under the frame rail near a wheel, or under a solid axle tube close to the wheel.
- Trucks, trailers and machinery: at the designated lifting points, on a firm plate if the ground is soft.
- Never under the floor pan, the oil pan, the differential cover, suspension links, or anything that is not a structural lift point.
How high will a bottle jack lift?
Heights from our catalogue, fully lowered and at maximum with the screw extension:
| Model | Capacity | Minimum height | Maximum height |
|---|---|---|---|
| T20402 | 2 t | 148 mm (5.8 in) | 278 mm (10.9 in) |
| T20406 | 6 t | 185 mm (7.3 in) | 355 mm (14.0 in) |
| T20412 | 12 t | 210 mm (8.3 in) | 395 mm (15.6 in) |
| T20420 | 20 t | 235 mm (9.3 in) | 440 mm (17.3 in) |
| T02020 two-stage | 20 t | 235 mm (9.3 in) | 570 mm (22.4 in) |
| T20202s welded, low height | 2 t | 105 mm (4.1 in) | 155 mm (6.1 in) |
A two-stage bottle jack lifts about twice as far hydraulically from a similar starting height, useful for SUVs and trucks with long suspension travel.
Common mistakes
- Working under a vehicle held only by the jack
- Using the jack on soft ground, a slope, or tilted on its side
- Placing it off-centre, or under a point that is not a lift point
- Lifting with the screw extension instead of winding it up first
- Opening the release valve too far and dropping the load
- Overtightening the release valve, which damages its seat
- Using the handle as a lever for anything else, or adding a pipe extension to the handle
- Topping up with motor oil or brake fluid
Care and storage
Store the jack upright with the ram and screw fully down, so the chrome is protected and air stays out of the pump. Wipe the ram before lowering it after dirty work. Check the oil level with the ram down every few months if you use the jack regularly, and bleed it after it has been carried on its side. If it will not lift or will not hold, work through our repair guide before replacing parts.
Overload valve: do not adjust it
JackMaker bottle jacks have a factory-set overload valve, so the ram cannot be pumped past the rated capacity. Never try to adjust it “stiffer”. A customer who needs more capacity needs a higher-tonnage jack.
For distributors and private-label brands
We print this lifting and lowering sequence in your manual, in your language, with your part numbers, and the capacity and height range on a durable rating label. Most importers start with 2, 4, 6, 10, 12 and 20 tons in one colour series; see the full range of hydraulic bottle jacks 2–200 t or request a quote.